Preserving the Harvest

One thing that’s been on my mind as I plant all my seeds and watch them grow is what to do with the food once it’s grown. Obviously, eat it. But I also know that many things can ripen at once and we may have more fresh food than two people can get through. Which leads me to… preserving.

I’ve had even less experience with preserving than I have with gardening,. I remember when I was young my mother bottled some fruit. I don’t remember the making of the jars of fruit, but I do remember the breakfast where the jars came out for us to eat. For some reason I decided I didn’t like it. Whatever the fruit it was a stone fruit, jarred whole with the skin on (or possibly there was just a bit left on accidently) and I remember finding it hard to cut into with my spoon and the skin got stuck in my throat and an argument erupted with me and my mother over if I would or would not eat the fruit. If I remember correctly, after many tears, it was an argument she won and the incident never repeated itself. She did used to (and still does) make jam from time to time and I always loved that, until illness left me unable to tolerate refined sugar or strawberries.

In America there’s a big culture of preserving. They have different names for things. They call putting food into jars “canning”. We  refer to food in cans as canned food, I think Americans call them “tins” and “tinned food”  (any American please feel free to correct me here!). They are also big on “pressure canning” which means you can preserve all sorts of vegetables and other foods that I have never seen preserved at home before. The sort of preserving I knew about from my childhood was mainly “bottled” or “jarred” fruit, things which can be made with what American’s call “water bath canning”. There was also a bit of preserving things in oil and pickling. It was usually (in my neighbourhood at least) something your mum did while you were off climbing trees and nicking old for sale signs to slide down hills on, rather than something your mum did with you to pass on the knowledge and skills. Which is why I’m researching online and learning all the American terms.

I think to start off with I’m going to look into “water bath canning”, it’s what the people around me are familiar with so asking for advice is easier, as is buying supplies. I will also look into freezing and dehydrating. Until I get some produce I won’t have much to preserve, but I don’t want to get caught short with a basket of tomatoes and not know what to do with them before they go soft. So I’m going to research methods and recipes and post my results here so when the time comes, I may not be ready but I’ll have something to fall back on other than a hurried phone call to my mother!
 

A Lot Can Happen in a Week!

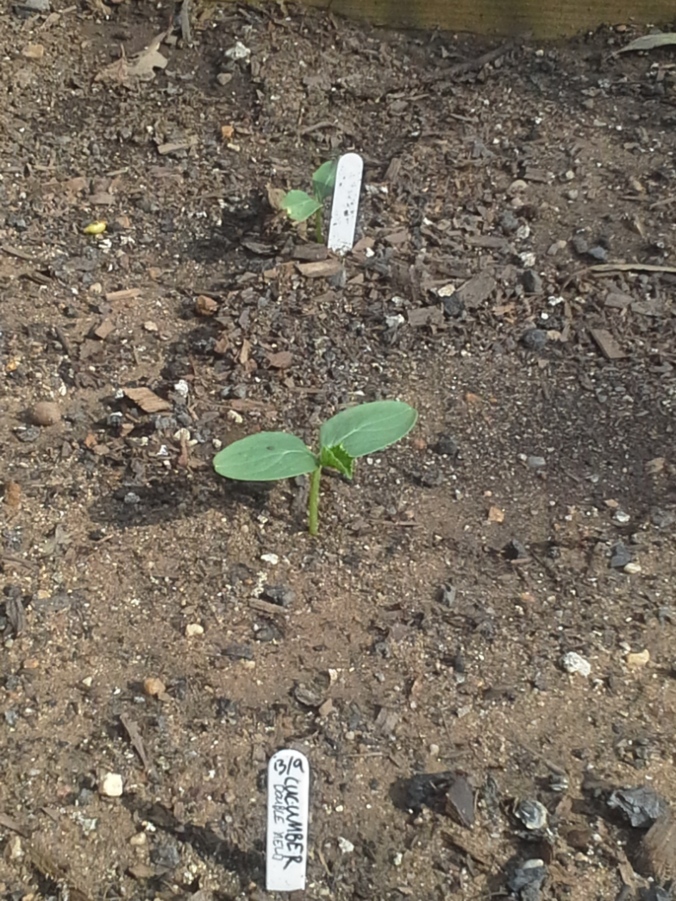
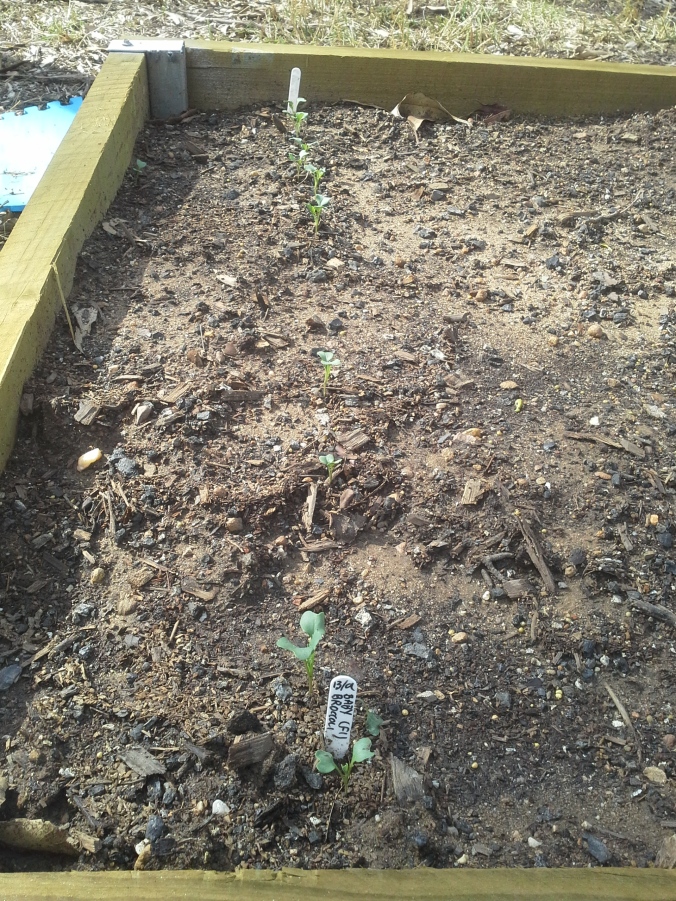
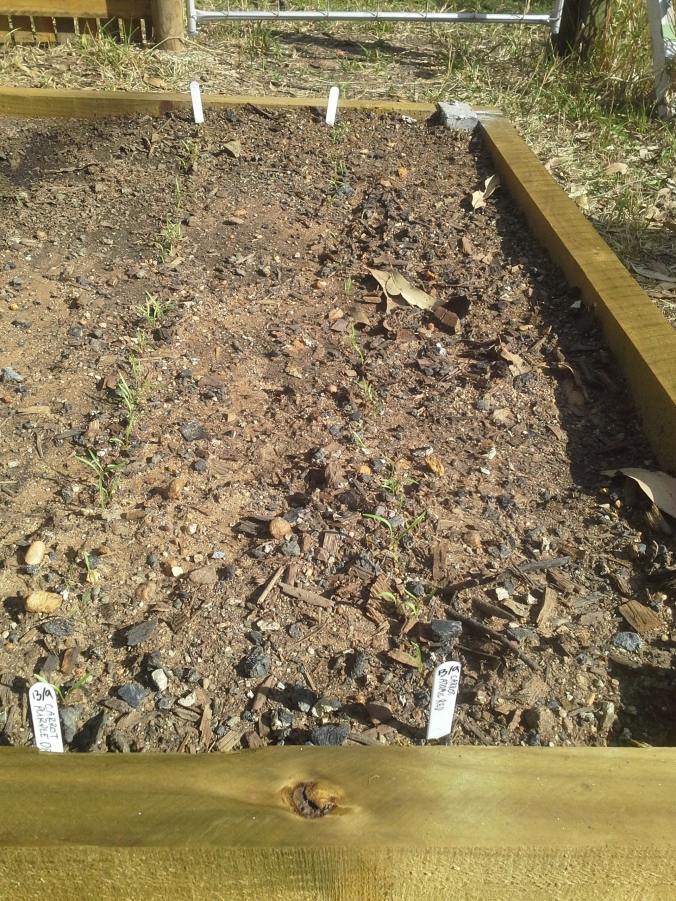
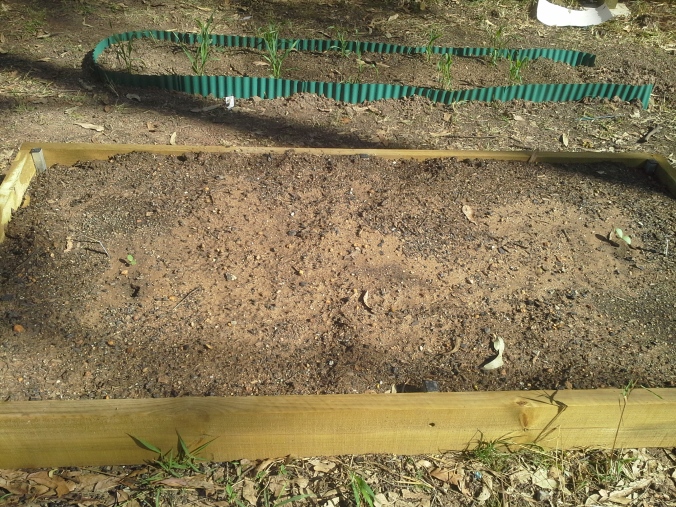
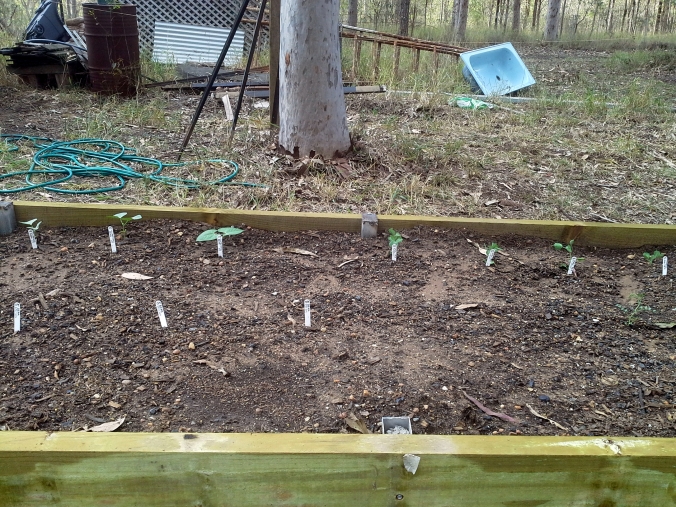
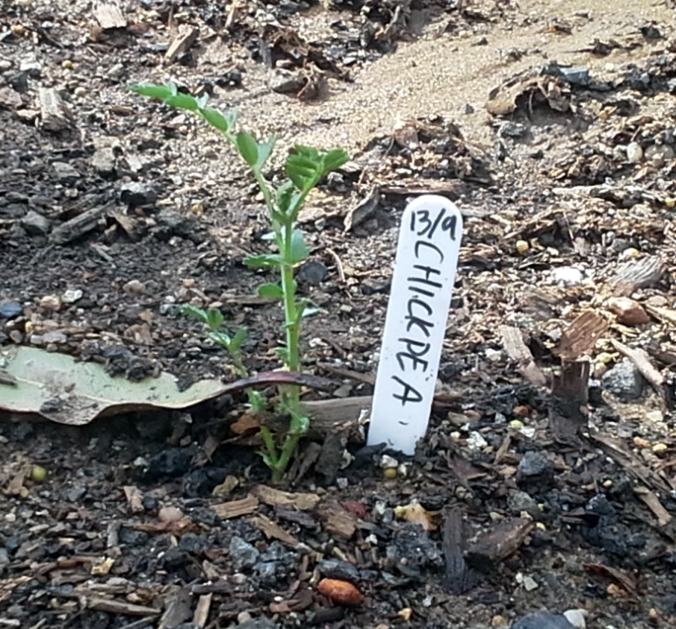
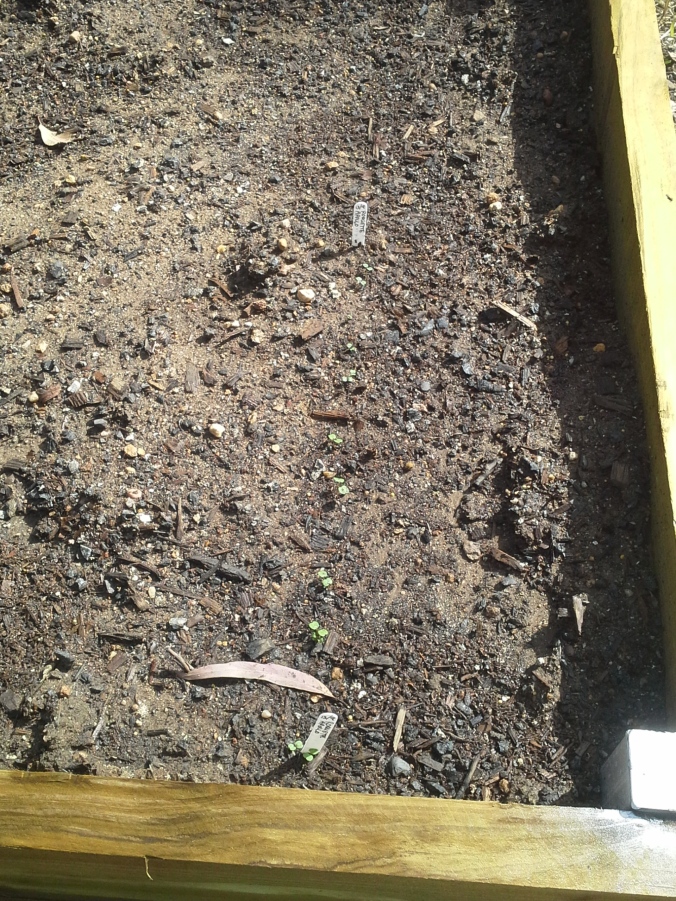
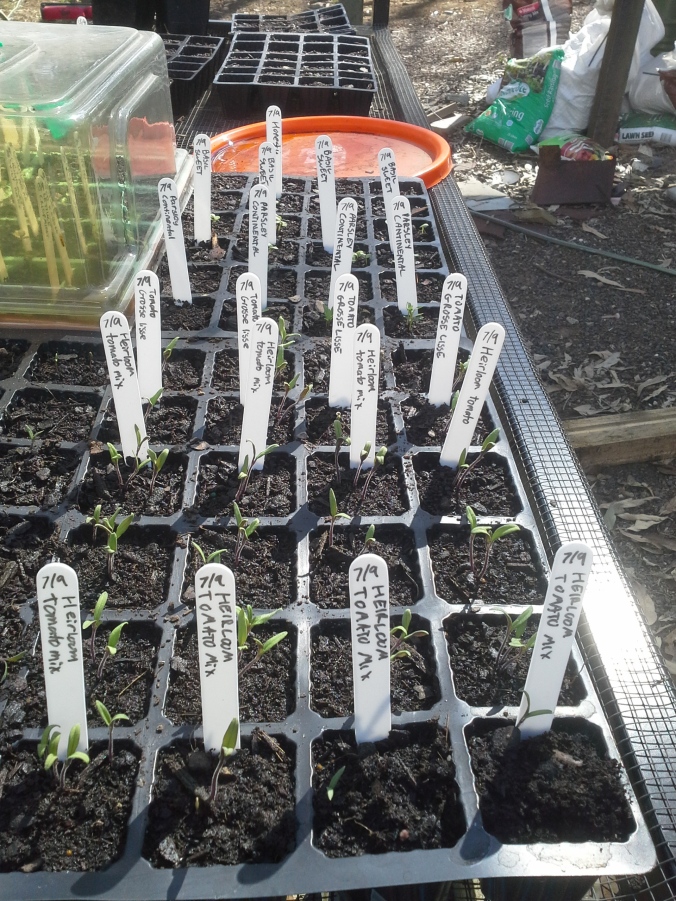
My goodness! So much CAN happen in a week. My young man sent me a message at work mid week to tell me that seeds were sprouting up all over the place but I was still surprised when I got into the garden on Saturday and found how much everything had grown.   Lets start with our seed raising table. There’s been a bit of growth here. The first tomatoes have grown taller and some are showing the first of their true leaves.   20140927_143548   Because we got a much higher strike rate than we expected (and we didn’t have a decent watering can when we first planted them, which meant a lot of the seeds were washed into one lump in their pot) we have a lot of seedlings forming really close together. I pulled some of the smaller ones in an effort to thin them out a bit.   It feels like the seeds we’ve planted in my mother’s seed raising box (which has a cover on) haven’t done as well as the ones we left out in the open. I have to remember they are a week behind the other’s though… 20140927_143633   Here we have some tomatoes showing. A couple of grosse lisse seeds on the far left have sprouted. These were free seeds from my young man’s mother and aren’t new. Next we have the artisan tomato mix, also free seeds, and just over half of these have sprouted. You might be able to see one lone wild sweetie has also just sprouted.  On the far right is the russel lupin. I planted six seeds and four have sprouted so far.   20140927_143621 I planted a few lettuce seeds of different types, hoping to be able to plant a few seeds every few weeks and have a succession of lettuces to harvest. A few have sprouted but not as many as I expected. Three of the capsicum seeds I have planted have come up but none of the mini ones. If I have time next weekend (I have a lot planned) I will plant some more capsicum and lettuce seeds if they haven’t shown themselves yet. I didn’t plant so many because I planted these the week after the tomatoes and I saw how many of them grew. There’s only so many capsicum plants one can have room for! The broccoli seems to be doing very well, quite a few seeds got planted as they were so small and the little punnets are already looking crowded. I might need to split these up, if that’s a good thing to do, before transplanting them into the beds. The cauliflowers are starting to sprout too.   Yesterday we had a busy day. We did some more work on the fence and were only halted after running out of palings. 20140927_144246 We were so close to the end too! Fortunately the gap is small so we can always block it up until we get more, which should make our little vegie garden deer proof. You can probably also see in this photo that there is a lot more green in the beds than there was last week! Lets start with my cucumber. Last week the biggest one was just showing it’s two first leaves. 20140927_143943 Now it is three times the size and showing it’s first true leaf. The smaller one behind it is still bigger than the biggest one was last week.   The only other things I have in this bed so far are the tomatoes we planted as seedlings, two of which are doing very well and one of which is doing ok, I think I should have buried it deeper. Not sure if digging it up and putting it in deeper is a good idea or not! 20140927_143933   It is the tomato on the back right I am not sure about. I also planted some marigold seeds in this bed but they are too small to photograph well even through they are coming up. Once the capsicums are big enough they will go in here too. I forgot to take a photo of my rocket that I took a photo of last week, but it is growing. 20140927_144003 Here is the baby broccoli from the brassicas and salad bed. It was too small for a photo last week but this week you can see it! The root bed is also doing well. 20140927_144033 The silverbeet is growing well, though a little unevenly. 20140927_144039 The beetroot is also coming along nicely! I also planted two rows of carrot seeds. Monty Don says that carrot seeds are very slow to germinate and you can sew radishes on top. The radishes will grow more quickly, showing you where you sewed the carrots, and you can harvest them quickly before the carrots need the space. Well, either Monto Don has a different idea of what ‘slow to germinate’ means or they just grow faster in Australia or there was something other than carrots in my seed packets, but in two weeks I have a pretty clear idea of where I planted my carrot seeds! 20140927_144048 I sewed my carrot as thinly as I could in the hope of preventing having to thin them. The look a lot closer than I though I had them! The Melon patch is also showing activity. I planted two seeds each of watermelon and rockmelon in the hopes that at least one of each would grow and if they all grew I could thin out the weaker of each. 20140927_143744   As you might be able to see one of each has grown which is perfect.   I took the same approach with the pumpkins, I planted one of each of the known varieties and for my ‘pumpkin heirloom mix’ I took out what looked to be one of each type of seeds and planted them, knowing it was probably too much for my 2.4 by 1.2 metre patch. I figured it was easier to sew too many and pull out what I didn’t want. I planted eight in all, four I knew what they were and four I didn’t. Well, boy have the pumpkins grown! They’ve gone from “I think a few of these might sprout” to “gee, I just don’t know what to do with all of these!” 20140927_143851 And look how big they’ve grown in just one week! Seven pumpkins sprouted. Two of these were doubles of known varieties so I pulled them out. This leaves two that I know what they are and three that I don’t know what they are I think five is too much for this bed size, but it’s hard to know what ones I should loose and how many. I want all my pumpkins that grow to be different so we can see which grow the best and we like most. 20140927_143908 Here is the biggest one so far.   The legume bed is the other one that’s doing very well. I should have remembered growing beans in yoghurt pots in primary school, but I must have forgotten because the growth in one week has surprised me.  Last week one of the beans was starting to grow. This week… 20140927_144111a Beans and peas everywhere! 20140927_144126a This is the bean that was growing last week. 20140927_144203a One week ago this snow pea wasn’t even showing! Look at all those leaves! 20140927_144234a Same for the chickpea, no sign of it last week. No sign of the baby sun beans yet. It’s very exciting seeing my little seeds grow from week to week. My young man I being a good boy an watering them every day. I’m not sure how much I will have to update on next week as I am working on Saturday and have a picnic on Sunday so I’m not sure how much time, if any, I will get to spend in the garden of my future home. No doubt the garden will be far more productive than I will!

Growing Begins!

There’s been some action in the garden since last weekend.

The tomato seeds I planted two weeks ago are beginning to turn into little seedlings.

20140920_091329

Of the seeds I planted last weekend under cover a few are starting to show, such as the broccoli and cauliflower.

20140920_091424

Hopefully more will be showing by next weekend. I didn’t expect any action in the main beds yet, but I was surprised! On Saturday morning one of the beans I planted in the legume bed was just starting to show. By Saturday afternoon it had its first two leaves and three other beans were starting to show. While there was no sign of any of the pumpkins or melons on Saturday, one appeared to be sending up something green this morning when I gave them a quick check.

20140920_091638

Here you can see one of my cucumbers! Of the three I planted a week ago two are showing.

20140920_091711

It’s hard to see In photos yet, but the two rows of salad and row of beetroot and silverbeet I planted are already showing too!

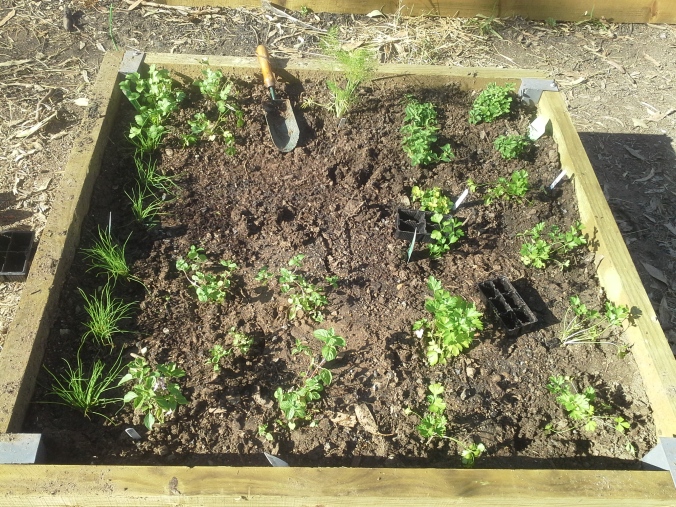
We still had a lot to do this weekend. I (with my young man’s help) finally finished digging out the ditch beside the fence. He was impressed when he realised how dense the clay I’d been hacking through was! We started edging this section with a cheap plastic garden edging that looked not so bad when we dug it into the ground rather than sitting it on top. We stoped because we ran out of pegs to pin the edging down. We also finished building the herb bed and planted the herbs in. This was a bit haphazard as we both had differing ideas of planting herbs in clumps v’s planting them in rows so each did our own thing, moving each other plants etc. as we went, but it was quite fun.

20140921_081547

The big space in the middle is for the rosemary.


Finally, before the sun went, we managed to put up a little bit more of the fence. If you see the metal rod leaning against the fence post, we put up the palings to the left of that. Not much, bit it’s good to have a bit more of it up.

20140921_081529

This photo I took this morning. You can just see the ditch by the fence where it has the edging. My young man planted some corn in there (after telling me he didn’t want to use that ditch for corn or grapes!) and you might just be able to see the corn planted in the ground. I think he must have had a moment of weakness when he walked past the corn seedlings while buying a new hose so I’ll forgive him.

We’ve come a long way in the past few weeks and now it will be exciting to see how the plants come along in the next few weeks! I’ve learnt a lot can grow in a week!

Progress in the Garden!

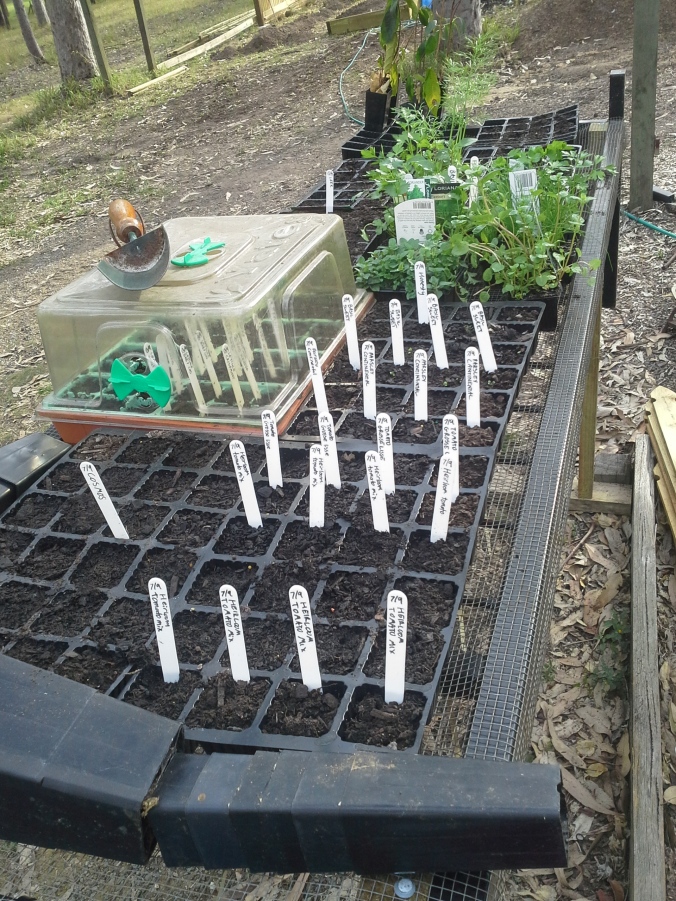
So today we got stuck into the garden. My boyfriend finished the six main vege beds while I planted out seeds that are meant to be started in punnets, wrote a billion plant labels and  sorted out all the packets of seed. 20140913_111137a

We’ve now planted some capsicums, a variety of lettuces, broccoli, cauliflower and leaks in addition to our tomatoes, basil, parsley and various flowers on the made-out-of-scrap seed table

20140913_153813

You might be able to see it but the basil I planted last week already has two small leaves peeping out! The bushier seedlings are all herbs that my boyfriend picked up yesterday when getting some fertilisers. The unlabelled trays at the back are all flowers my boyfriend planted once I announced I had planted all the seeds that I was starting in punnets for a few weeks.   I then fertilised the beds (except for the root bed) and gave them a good water and we went in for lunch having already done four hours work. After lunch I planted out the seed that was going direct into the beds.

20140913_153842

The back left bed will be the root bed this year. I’ve planted it with some red and purple carrots, beetroot, silverbeet and spring onions. This is where the leaks will grow once we transplant them out. I’ve got some orange carrot seed still to plant so we can have orange carrots as well. The back right bed is the pea and bean bed. We salvaged a bit of wooden trellis from my parent’s place that we will train the climbers up on. I also planted some russel lupins today in the punnets and they will be going in this bed also to look pretty but they’re also a member of the pea family and like the other legumes will improve the soil for when we rotate the crops. The middle right bed is the brassica bed. We’re also putting our salads here as it was the emptiest bed. There’s not much here yet, just two lonely rows of seeds while the rest grow in their punnets. The middle left bed is the fruiting crops. I planted three tomato seedlings and some marigold seeds in here. I also planted some cucumbers. This is also where the capsicums will go when they’re ready for transplanting. The front left bed is the melon patch, where I planted two watermelons and two rockmelons. I planted two of each in case one didn’t germinate but I think I’ll have to thin out the weaker of each to ensure the plants have enough space. The right front bed is the pumpkin patch and it was hard not to plant too many seeds! I had about seven different types of pumpkin seeds and I planted four seeds.   Here is another view of the four main vege beds.

20140913_153910

We also need to finish building the fence you see in this photo. It stops just to the left of the picture and the un-finished part is where we always find deer prints, they have a little highway right through our vege patch it seems. But we’ve got the seeds in now, so hopefully now we can finish off the fence. We felt that spring was going to rush by us if we didn’t get cracking on the garden!

Seeds!

Our seeds arrived today. I’m looking forward to getting stuck in on Saturday.

I’ve been thinking about two things I’ve yet to finalise the planning for in the garden. The first, if I take after my mother and sister, is that I will end up with a ton of tomato plants that won’t die. As well as the seed I planted on the weekend we’ve got three seedlings and a promised seedling from my mother (the infamous un-killable tomato plant that she never even planted in the first place) and a bunch of other varieties that we want to try.  We want to try a few and see which we like best in terms of growing AND taste. We have 1.2 by 2.4 metre raised beds and I was wanting to grow the tomatoes as part of the crop rotation, which means fitting my tomato plants into half of a raised bed.

The other thing is we’re yet to finalise our decision on how to make best use of the 10 metre or so strip by the fence.

The answer should be pretty obvious but it just came to me that if we end up with too many plants then we can plant them in this strip. I don’t know why I didn’t think of this before.

Planting begins!

We’re still waiting for our main seeds and plant order to arrive but are itching to get started. Yesterday my young man began rigging up a seed raising table out of some scrap and this morning he finished it. It’s actually very sturdy and for the price (free) is good value. We had a few packets of free seeds from a variety of sources and we sorted through them. My mother says tomato seeds can be planted straight in the ground but everything I hear says raise them as seedlings first so while we’re waiting for the main garden beds to be finished (there’s still a few bolts to go in and some manure to be worked in) I planted some tomatoes into seed trays and we can try sewing some direct at a later date (we have a lot of tomato sees somehow).  I planted one packet of ‘heirloom tomato mix’ from diggers and some ‘grosse lisse’ tomato seeds that were amongst the seeds my partner’s mother gave to him. I also planted some parsley and basil. We had a lot of seeds that had “expired”, amongst them were some cosmos and honesty. I figured it was worth a bit of potting mix and water to see how many would germinate so we planted them too.

I also sat down and worked out where we were planting what in the garden beds. I’d already worked out what was going in which bed but now I have a plan for where everything is going inside the beds. A rough plan, anyway. One thing we haven’t yet decided what to do with is the ten metre strip by the fence. We’d love to plant all kinds of cane berries there, but everything I read says Brisbane isn’t the right place for cane berries. Grapes is an option and they have my vote but my boyfriend wants to put them in the other paddock (after we get water there and dig the ground up). My mum has a passionfruit vine that she doesn’t want so that’s a possibility but one fine does not fill a ten-odd metre trench. I’m thinking for this year we should just fill it with flowers (and the passionfruit) and re-assess next year.

Welcome to Treeview Acres

Welcome to Treeview Acres. This blog is to record our progress towards living a more sustainable life.  Treeview Acres is a sort of romantic name but it’s exactly what we have. You look out the window of the lounge and see a sea of green treetops sloping away from you. To stand outside however is not so idyllic.  Or green for that matter. There’s dust held together with the occasional clump of grass and the knowledge that just undeer the surface is a bed of solid clay. Then there are the trees, mostly eucalypts and from this view theu look pretty brown. But it’s not all bad from this view. There is a house which is pretty much a real house. It’s an old Queenslander which means the ground floor is upstairs as the whole house was built on stilts. The floor may not be quite flat but there are two external doors (one of which leads to a set of stairs and the other leads to mid air), one too few windows, a part blue, part pink and part neutral bathroom with most of a floor, working electricity and it even has running water. The actual garden is quite pretty with a bougainvillea archway leading to a large lawn sorrounded by lavender, jasmine and roses (when the wallabies don’t eat them).

What more could a young couple want from their first house together? Well, obviously alpacas and goats and chickens and a fruit Orchard and kitchen gardens and fields of corn and peas and feijoa trees. We want to eat fresh home made goat’s cheese on bread just out of the oven with tomatoes still warm from the vine and we’ve decided that this is the year we start working towards our future.

Our first step is to build a vegetable garden. We’ve chosen a 15 by 11 metre section near the house. We chose this spot not only because it’ s not too far to the kitchen but because it has access to running water so we don’t have to lug it over in buckets. We’ve gone for a four raised bed crop rotation design with two additional lower, but still raised beds for other things we don’t want to grow in the crop rotation.  The beds have been constructed and are filled with top soil. My father has a pile of horse manure that’s been sitting in his horse’s paddock for some time so we will dig that through all the beds except for the one which will contain  the root crops as I understand too rich a soil will fork the rots. We may also get a fertiliser high in nitrogen for the brassica and leaf bed (we are growing these in the same bed) and while I know tomatoes don’t like too much nitrogen I’m not sure if the pea and bean bed or the root bed should have this added. With spring nipping at our heels we’ve ordered our seeds and are giving a wide variety of things a go. My mum is also giving us a few seedling from her garden. We’re also planting a few flowers, some as companion plants but also in hopes of attracting bees.

We have started but need to finish fencing off the vegetable garden area. It’s a popular spot for deer to wander through and we want to keep all unwannted animals out of the vegetable garden.

The other thing we’re starting with is the chicken coop. We have sunk four posts into the ground so far so there is still a lot of work to do.

We also need to get a space for a compost heap organised and built something to contain it. In truth this should have been done months ago but better late than never.


So there’s a lot of work to do. Hopefully the next update I’ll include some photos  of where we’re at.